
Head-specific fault
Compare the affected head with an approved head using the same packaging lot and test method.
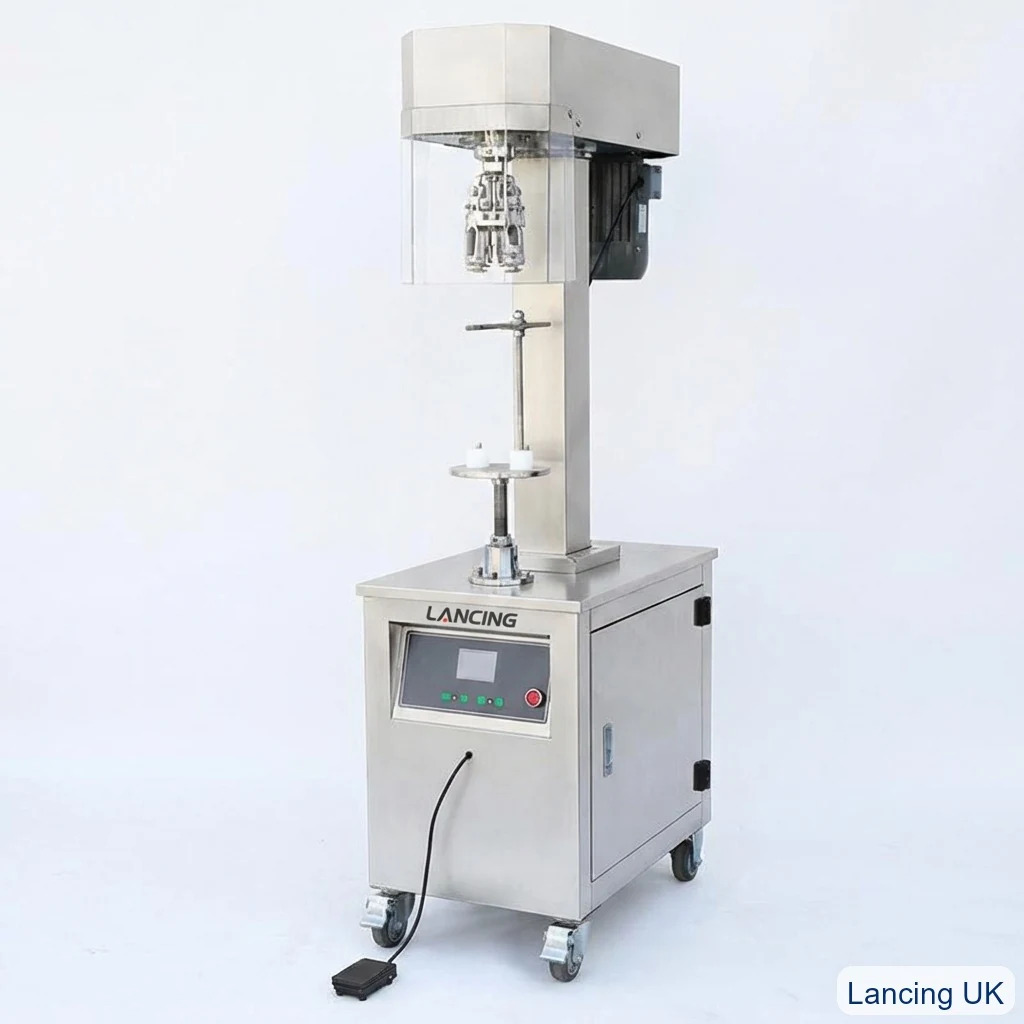
The ROPP capping head controls how the aluminium cap is formed onto the bottle neck. Head setup affects sealing pressure, opening torque, tamper-band appearance and whether the cap sits straight after application.
Head setup
ROPP heads typically use thread rollers and lower pilfer-band rollers. Top pressure compresses the liner before the rollers form the skirt and band. If these settings are wrong, the closure may leak, require excessive opening force or show damaged bridges.
A repeatable setup procedure helps operators return the machine to specification after changeover. Documenting cap size, head height, roller position and torque results makes troubleshooting faster.
Specification guide
These symptoms point to capping head setup areas to investigate.
| Area | Why it matters | Action |
|---|---|---|
| High opening torque | Over-forming or excessive pressure | Review thread roller depth and top pressure |
| Loose cap | Under-forming or poor compression | Review head height, cap dimensions and neck finish |
| Damaged band | Lower roller mismatch | Review band roller height and retaining bead geometry |
Process
These steps help turn the search query into a working ROPP capping specification.
Set bottle support and head height.
Confirm cap sitting position.
Adjust top pressure.
Set thread roller depth.
Set pilfer-band roller height.
Related ROPP guidance
These pages cover the wider equipment range, technical checks and the enquiry route for samples and quotations.
FAQ
It applies pressure and uses rollers to form the aluminium cap thread and tamper-evident band.
Sometimes, but format changes may require adjustments or change parts.
Head height affects liner compression and the position where rollers contact the cap skirt.
Use consistent samples, stable bottle support, documented settings and routine torque checks.
Send your cap size, bottle height, neck finish, samples and target output for practical advice.
Head set-up hierarchy
Changing several head variables at once can hide the true cause and make a repeatable approved setting difficult to recover.
Use the approved bottle, closure, liner/insert, pressure pad, rollers and support. Reject damaged or wrong components before set-up.
Centre the bottle, control height and ensure it can resist the required forming action without tilt, bounce or damage.
Confirm that the cap arrives squarely and the liner contacts the intended sealing surface under the approved condition.
Adjust the relevant thread-roller condition using small controlled changes and compare the result with the approved sample and drawing.
Check band tuck, bridges, bottle feature and opening behaviour without allowing the lower setting to damage the shell or neck.
Record visual, opening and seal evidence. On multi-head equipment, identify every sampled head before production release.
Compare the affected head with an approved head using the same packaging lot and test method.
Review the bottle, closure, cap feed, line condition and common set-up before adjusting every head.
Correlate samples with restart, cap replenishment, bottle flow, packaging lot and changeover.
Adjustment boundary: follow the supplied machine manual and authorised set-up procedure. This sequence is diagnostic guidance and does not specify a universal roller force, dimension or acceptance value.
Include the machine/head identity, packaging lots, settings, close-up images and good and failed samples.
A replacement ROPP roller should be identified by its approved part and profile, not selected because it fits the spindle. Thread rollers form the cap against the bottle finish, while pilfer rollers form the lower tamper feature. The pressure block has another role: locating the closure and establishing the top and liner contact. These functions need compatible tooling.
Before ordering parts, record the head identification, bottle neck-finish drawing, cap reference, roller references and any current pressure-block or support parts. Photograph the installed arrangement and retain an accepted closure sample. If part markings are unreadable, ask for identification from the machine or head supplier rather than treating appearance as proof of equivalence.
After replacement, restore the authorised setup and verify the resulting packs using the agreed inspection and opening checks. Keep the replaced part identified with the fault record so wear can be distinguished from an incorrect profile or assembly. On a multi-head machine, compare results by head. A replacement that removes one visible defect but changes opening behaviour or tamper-band performance has not yet established an acceptable repair.
No. Its working profile must suit the approved closure and bottle finish, as well as the head mounting.
Supply head identity, cap and bottle references, existing part markings, photographs, drawings and an accepted finished-closure sample.
Identify format change parts Verify closure quality after repair