
Escalate to the packaging supplier
Use controlled drawings and retained samples where the neck finish, cap material, liner, bridge design, tolerances or finish appear to differ from the approved pack.
Most ROPP capping faults come from a combination of cap, bottle, machine setting and product condition. A structured troubleshooting process helps isolate whether the issue sits with packaging compatibility, capping head setup or production handling.
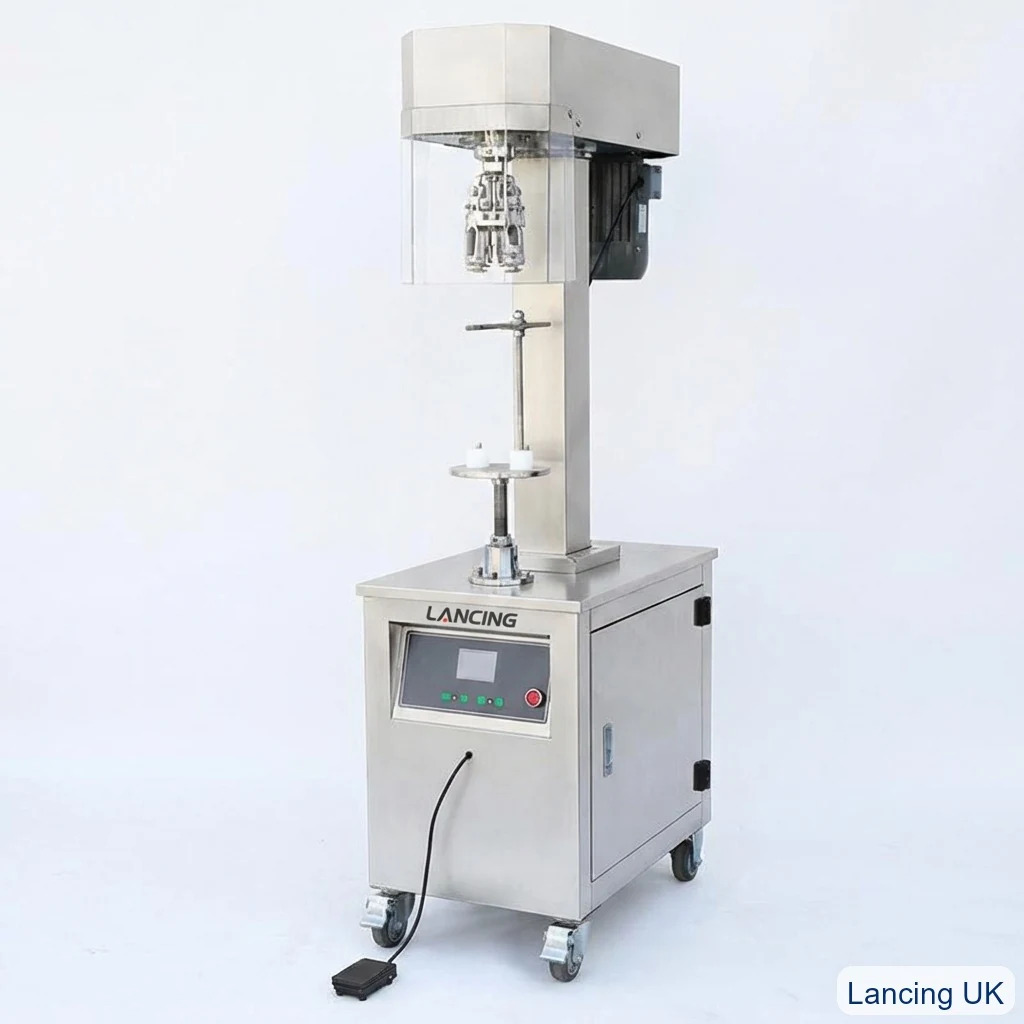
Diagnose methodically
Do not adjust every setting at once. Check incoming cap and bottle quality first, then run measured samples and record the effect of each change. This helps avoid masking the real cause of leaks, torque variation or band damage.
For best results, treat the cap, bottle and machine as one system. Lancing UK can review samples and advise whether a semi-automatic, inline automatic or rotary multi-head ROPP capping system is the correct route.
Selection table
Use these checks to narrow the machine choice and avoid packaging compatibility problems.
| Area | Why it matters | Action |
|---|---|---|
| Cap leaks | Liner compression, neck damage, cap mismatch or contamination | Check sealing surface, top pressure and leak results |
| Torque too high | Over-compression or thread/band over-forming | Measure torque and inspect thread definition |
| Torque too low | Weak thread formation or low pressure | Check rollers, top pressure and cap fit |
| Band splits early | Fragile cap bridges or over-aggressive lower roller | Inspect caps before capping and adjust lower roller |
| Cap sits crooked | Poor cap presentation or bottle support | Review cap placement, guides and bottle holding |
Process
A documented setup gives better repeatability and easier troubleshooting.
Compare good and bad samples from the same run.
Measure cap height, torque and leak performance.
Inspect cap bridges and band position under magnification if needed.
Change one setting at a time and record results.
Confirm the fix across multiple heads and production speeds.
Related ROPP guidance
These pages cover machine range, automatic options, troubleshooting and the enquiry route for bottle and cap samples.
FAQ
Intermittent leaks often point to packaging variation, inconsistent cap placement, product contamination or a specific capping head rather than a general machine fault.
Torque variation can come from bottle neck tolerances, cap liner variation, inconsistent pressure, roller wear or product residue.
Compare the bottle finish against the cap supplier drawing and inspect sealing surfaces, neck beads and thread consistency.
Yes. Samples should be tracked by head number so one incorrect or worn head can be identified.
Send your cap size, bottle height, neck finish, samples and target output for practical advice.
Fault isolation matrix
Intermittent ROPP defects are difficult to solve when samples lose their time, head or packaging-lot identity. Retain good and bad samples in sequence, mark the capping head where possible, and change one controlled variable at a time.
| Observed fault | First evidence to collect | Avoid |
|---|---|---|
| Intermittent leak | Cap and bottle lot, head number, liner/sealing-land condition, product contamination and leak method. | Increasing top pressure before confirming the sealing interface and packaging variation. |
| Opening torque varies | Instrument method, conditioning time, head traceability, cap height, thread form and liner condition. | Comparing results taken with different methods or at different conditioning times. |
| Pilfer band incomplete | Band height, bead geometry, bridge condition, cap material, lower roller setting and cap placement. | Moving several roller settings at once without retaining before/after samples. |
| Cap skew or marking | Cap feed and placement video, bottle stability, guide/support settings, closure finish and head alignment. | Assuming the forming head is the cause when the cap arrives out of position. |
| Fault follows one head | Samples by head, tooling identity, roller wear, pressure-block condition and bearing/play check. | Averaging samples across all heads and losing the local pattern. |
| Fault appears only at speed | Infeed spacing, cap starvation, transfer timing, stop/start behaviour and accepted/rejected output log. | Using a low-speed dry sample as proof of full production performance. |
Escalation boundary
Machine settings should not be used to compensate indefinitely for damaged bottles, incompatible caps, changing liner construction or an uncontrolled feeder. Escalation protects the packaging and prevents a temporary setting from becoming an undocumented production standard.
Use controlled drawings and retained samples where the neck finish, cap material, liner, bridge design, tolerances or finish appear to differ from the approved pack.
Provide machine model, serial/reference, tooling identity, settings, head number, videos, good/bad samples, fault timing and the results of the agreed torque or leak method.
Stop if bottles or closures are being damaged, guarding or safe access is compromised, abnormal force or noise appears, or the fault could release nonconforming packs without reliable detection.
Evidence FAQ
The pair shows what changed while keeping the same production context. It helps separate a general packaging problem from an intermittent head, placement or line event.
One-variable changes allow the result to be attributed to a specific adjustment. Multiple simultaneous changes can hide the real cause and make the accepted set-up impossible to reproduce.
Use steady close and wider views showing bottle infeed, cap orientation and placement, the forming station, outfeed and the moment the fault occurs. Include normal operation for comparison.
Involve the owner of the controlled drawing when dimensions, material, liner, bridge, finish or batch variation may be outside the approved packaging specification.
No. Torque should be interpreted with cap height, thread form, liner contact, band condition, leak result, packaging lot and machine/head information.
Good/bad samples, drawings, machine details and test results shorten the route to a controlled diagnosis.
Fault-pattern evidence
The timing and distribution of a fault often provide more diagnostic value than the symptom alone. Mark samples in production order and relate each defect to head identity, packaging lot, line state, product condition and recent changeover work.
| Observed pattern | Evidence to separate first | Controlled next check |
|---|---|---|
| Every bottle is affected | Common packaging compatibility, shared settings, product on the sealing surface and the test method itself. | Compare against approved drawings, uncapped samples and the last retained good set before making one documented adjustment. |
| One rotary head differs | Head-specific pressure, roller condition, alignment, support and sample traceability. | Take labelled good/bad samples from every head using the same packaging lot and method. |
| The fault follows one cap or bottle lot | Dimensions, liner, finish, stiffness, bridge condition, neck damage and lot identification. | Run controlled comparison samples without mixing lots and involve the drawing owner where variation is suspected. |
| The fault appears after a stop or refill | Cap presentation, trapped bottles, feeder recovery, restart sequence and partially processed packs. | Retain the first bottles before and after the event and review video of the transfer and restart. |
| The fault rises with line speed | Bottle stability, cap placement, feeder delivery, transfer timing, inspection and downstream pressure. | Repeat at defined conditions while recording the first point at which the fault appears. |
| The fault appears after changeover | Tooling identity, labelled settings, height, support, guide and feeder parts. | Compare the fitted parts and first-off sample with the approved format file before changing common settings. |
Decision record
A troubleshooting record should show the initial condition, one change, the result and the decision to retain or reverse it. This prevents temporary adjustments from becoming undocumented production settings and makes remote engineering review substantially clearer.
Record time, head, bottle and closure lots, product condition, machine state, settings, raw opening/leak results and close-up photographs. Retain an uncapped bottle and closure from the same lots.
Identify the exact adjustment, responsible person and reason. Do not simultaneously change pressure, thread rollers, tuck rollers and bottle support because the result cannot be attributed to one cause.
Repeat the same sample and test method across the relevant heads and line states. Retain the accepted and rejected samples and restore the previous setting if the evidence does not support the change.
Stop and escalate if bottles or closures are being damaged, guarding or safe access is compromised, abnormal force or noise appears, packaging is outside its controlled specification, or nonconforming packs cannot be contained reliably. Do not use higher pressure as a general response to uncertain packaging compatibility.
For measurement control, use the torque-testing guide; for drawing and tooling interfaces, use the ROPP engineering guide.
Use the blank evidence log to link each sample to the head, packaging lot, line state, test result and controlled adjustment.
Safe escalation
Stop when the next step would require bypassing safeguarding, entering a hazardous area without the authorised isolation, changing an undocumented control or safety setting, dismantling beyond the approved procedure, or continuing to produce packs without a valid release method. Also escalate recurring faults that cannot be linked to one controlled change.
Retain the pack evidence and fault state before further adjustment. A structured request should distinguish bottle and closure variation from feeder, handling, capping-head, drive, sensor and controls issues.